-
Login
-
Language
- Deutsch
- English
Requirements
- Outlook needs to be installed on your Windows PC or Notebook.
- Active internet access.
Start with step 1.

Step 2

Use the password you got from us.
Select Show more.
Unselect the option Use recommended settings.
IMAP Incoming server: imap.stoney-mail.com
Port: 993
Secure connection type: SSL/TLS (recommended)
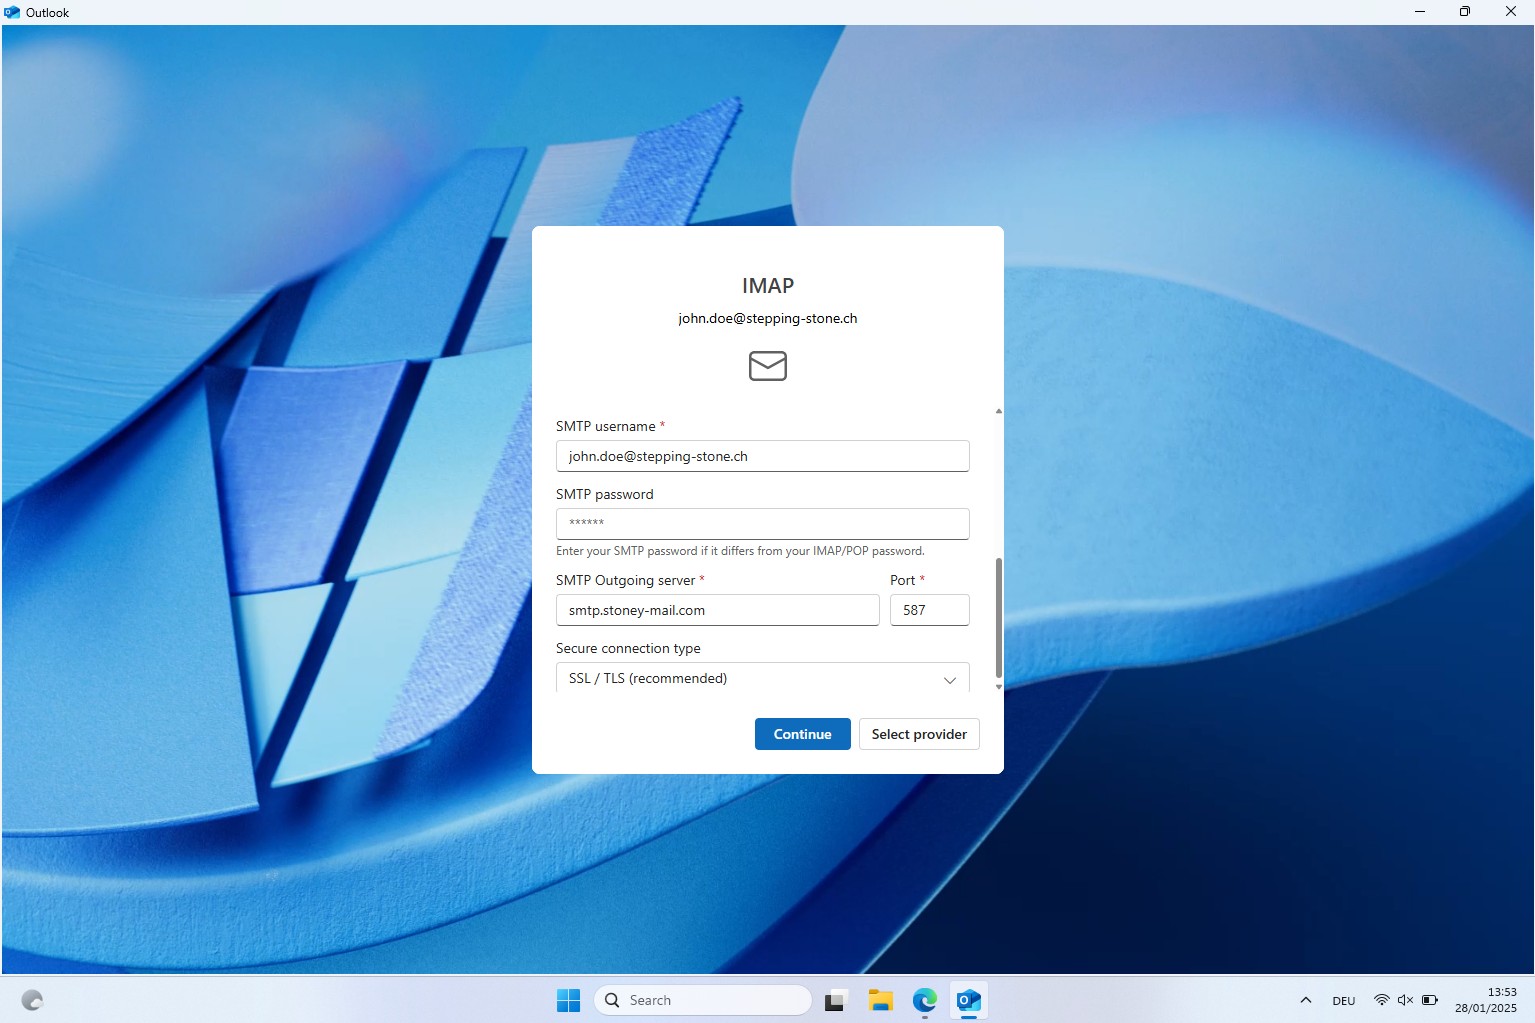
SMTP username: use the email address you got from us
SMTP Outgoing server: smtp.stoney-mail.com
Port: 587
Secure connection type: SSL/TLS (recommended)
Click Continue.
Step 3
Sync your IMAP account:
Click Continue.
Microsoft respects your privacy:
Click Continue.
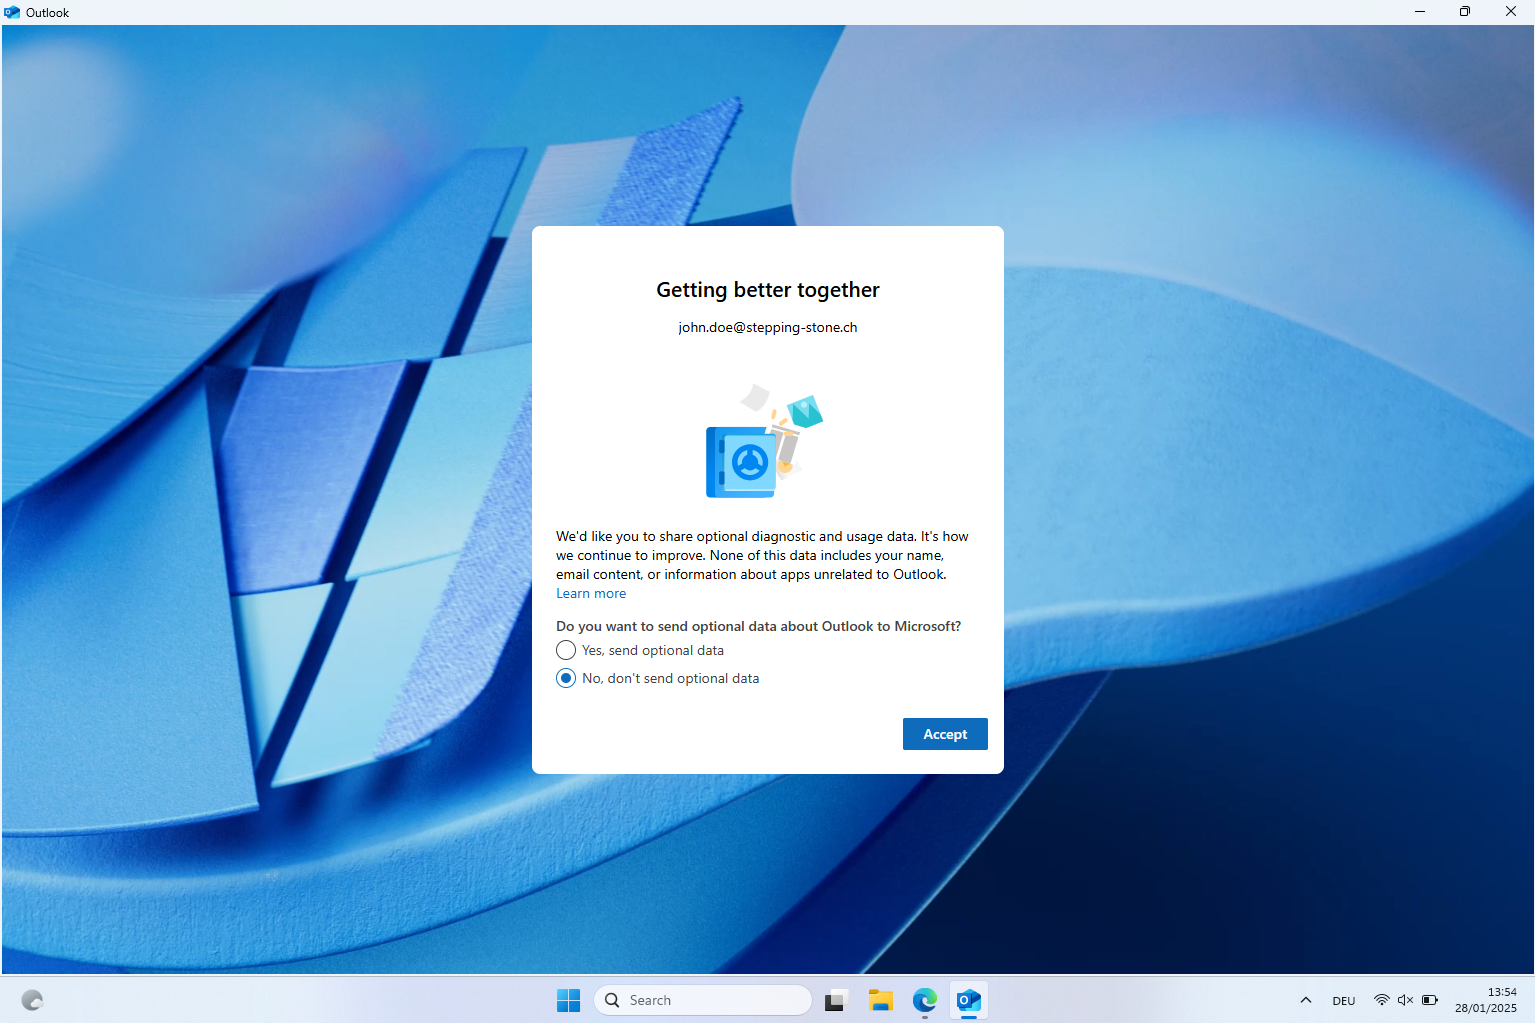
Getting better together:
Choose No, don't send optional data.
Click Accept.
Powering your experiences:
Click Continue.
Step 4
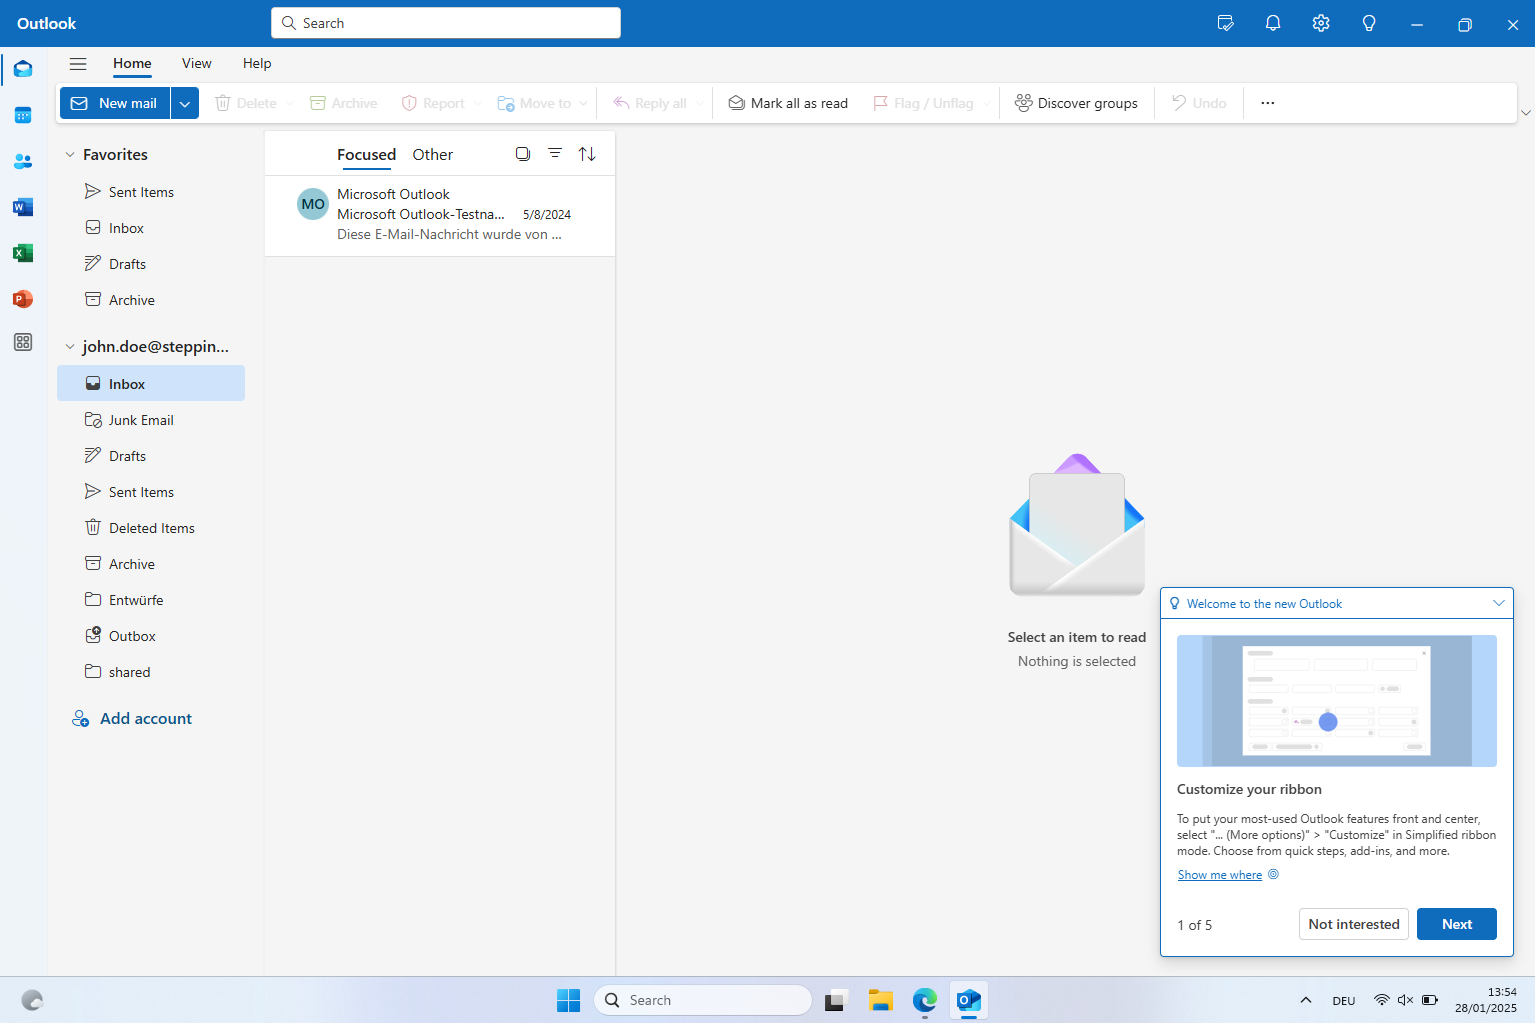
Your Outlook client is now ready. Check if the settings are correct by sending yourself an email.
Thank you for using our email service.