-
Login
-
Language
- Deutsch
- English
Overview
This installation manual will explain the configuration of your stoney mail account on a device with iOS.
Requirements
You will need an Apple device and an internet connection.
Have your stoney mail password and your user name ready.
Start with step 1.
Step 1
Add an account
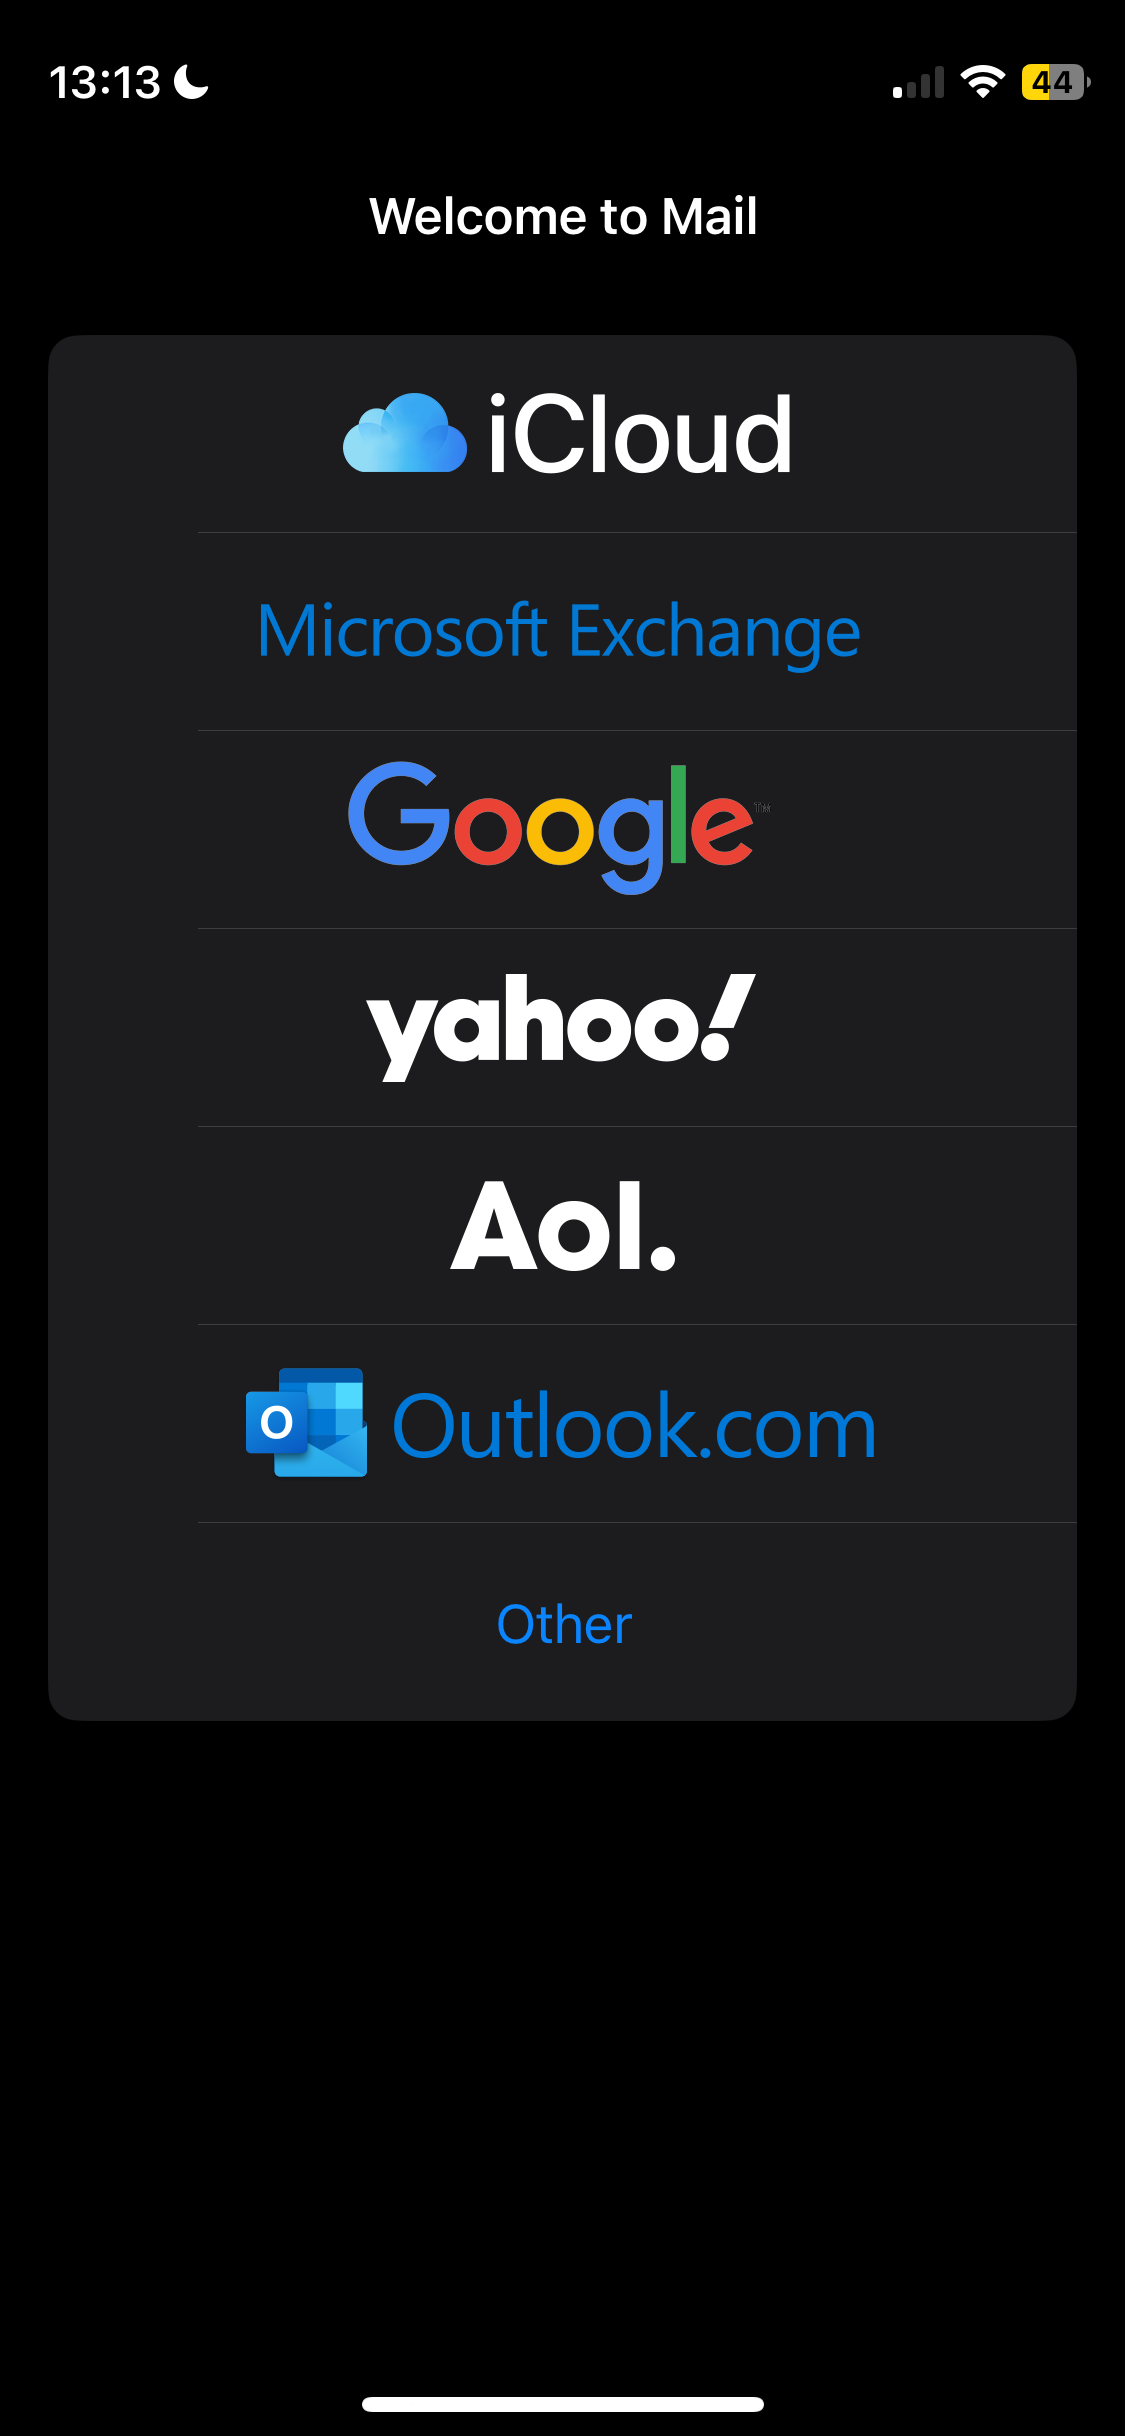
Open your Mail app and press Other.

Add your Credentials:
For Name use your own name. For Email use the e-mail-address you got from us, for example max.muster(at)stepping-stone.com.
Use the password you got from us.
Choose the description freely.
Click on Next.
Step 2
Server setup
Use the following information:
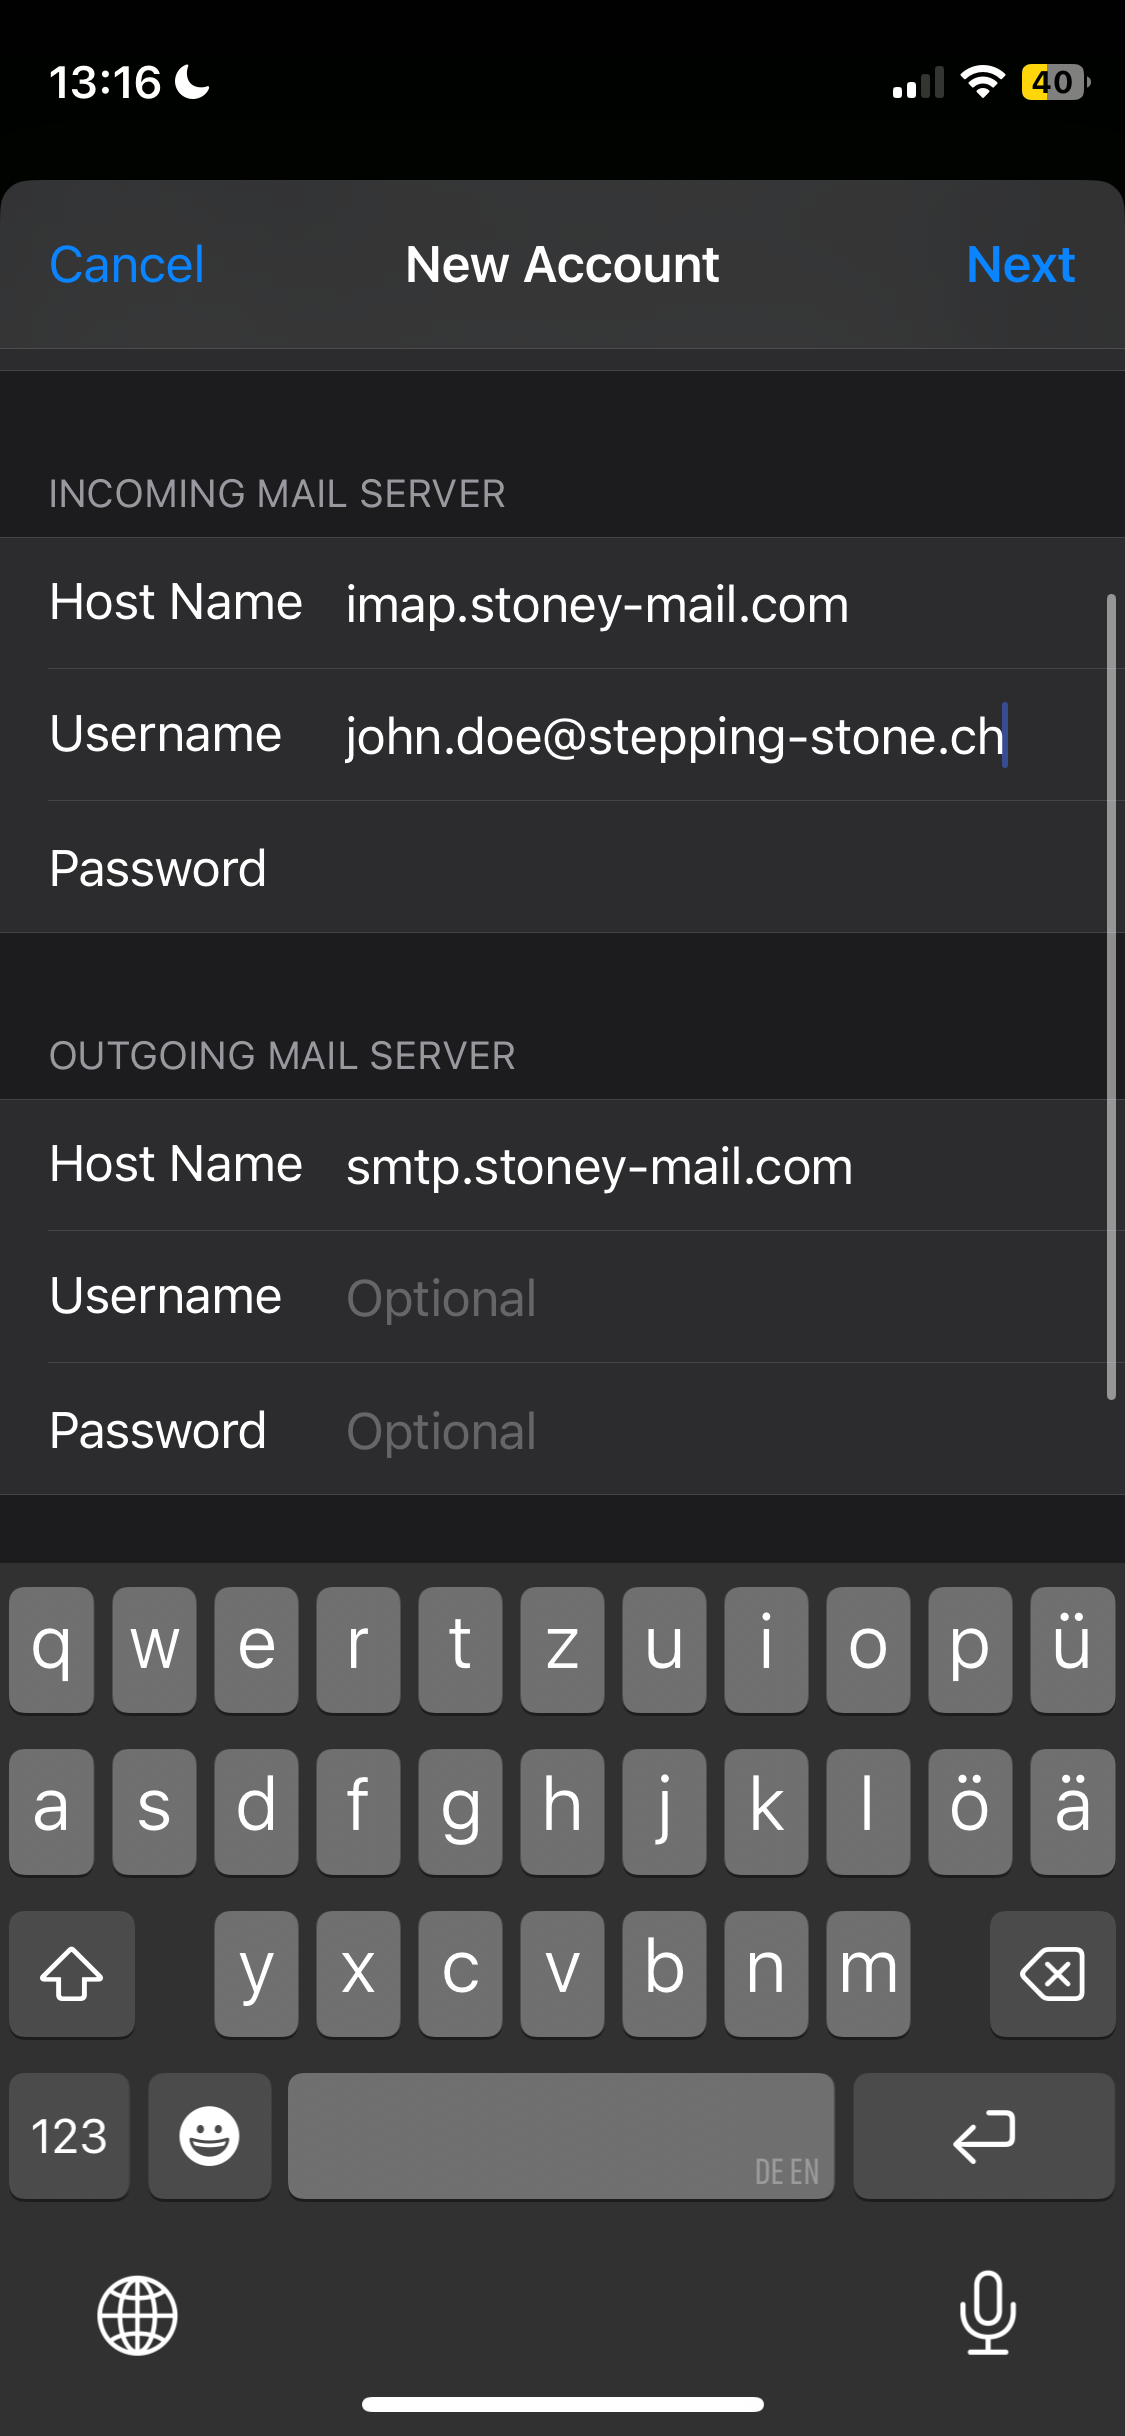
Column: IMAP
Incoming mail server
Host Name: imap.stoney-mail.com
Username: use the e-mail address you got from us
Password: use the password you got from us
Outgoing mail server
Host Name: smtp.stoney-mail.com
Click Next.
Step 3
Synchronizing functions
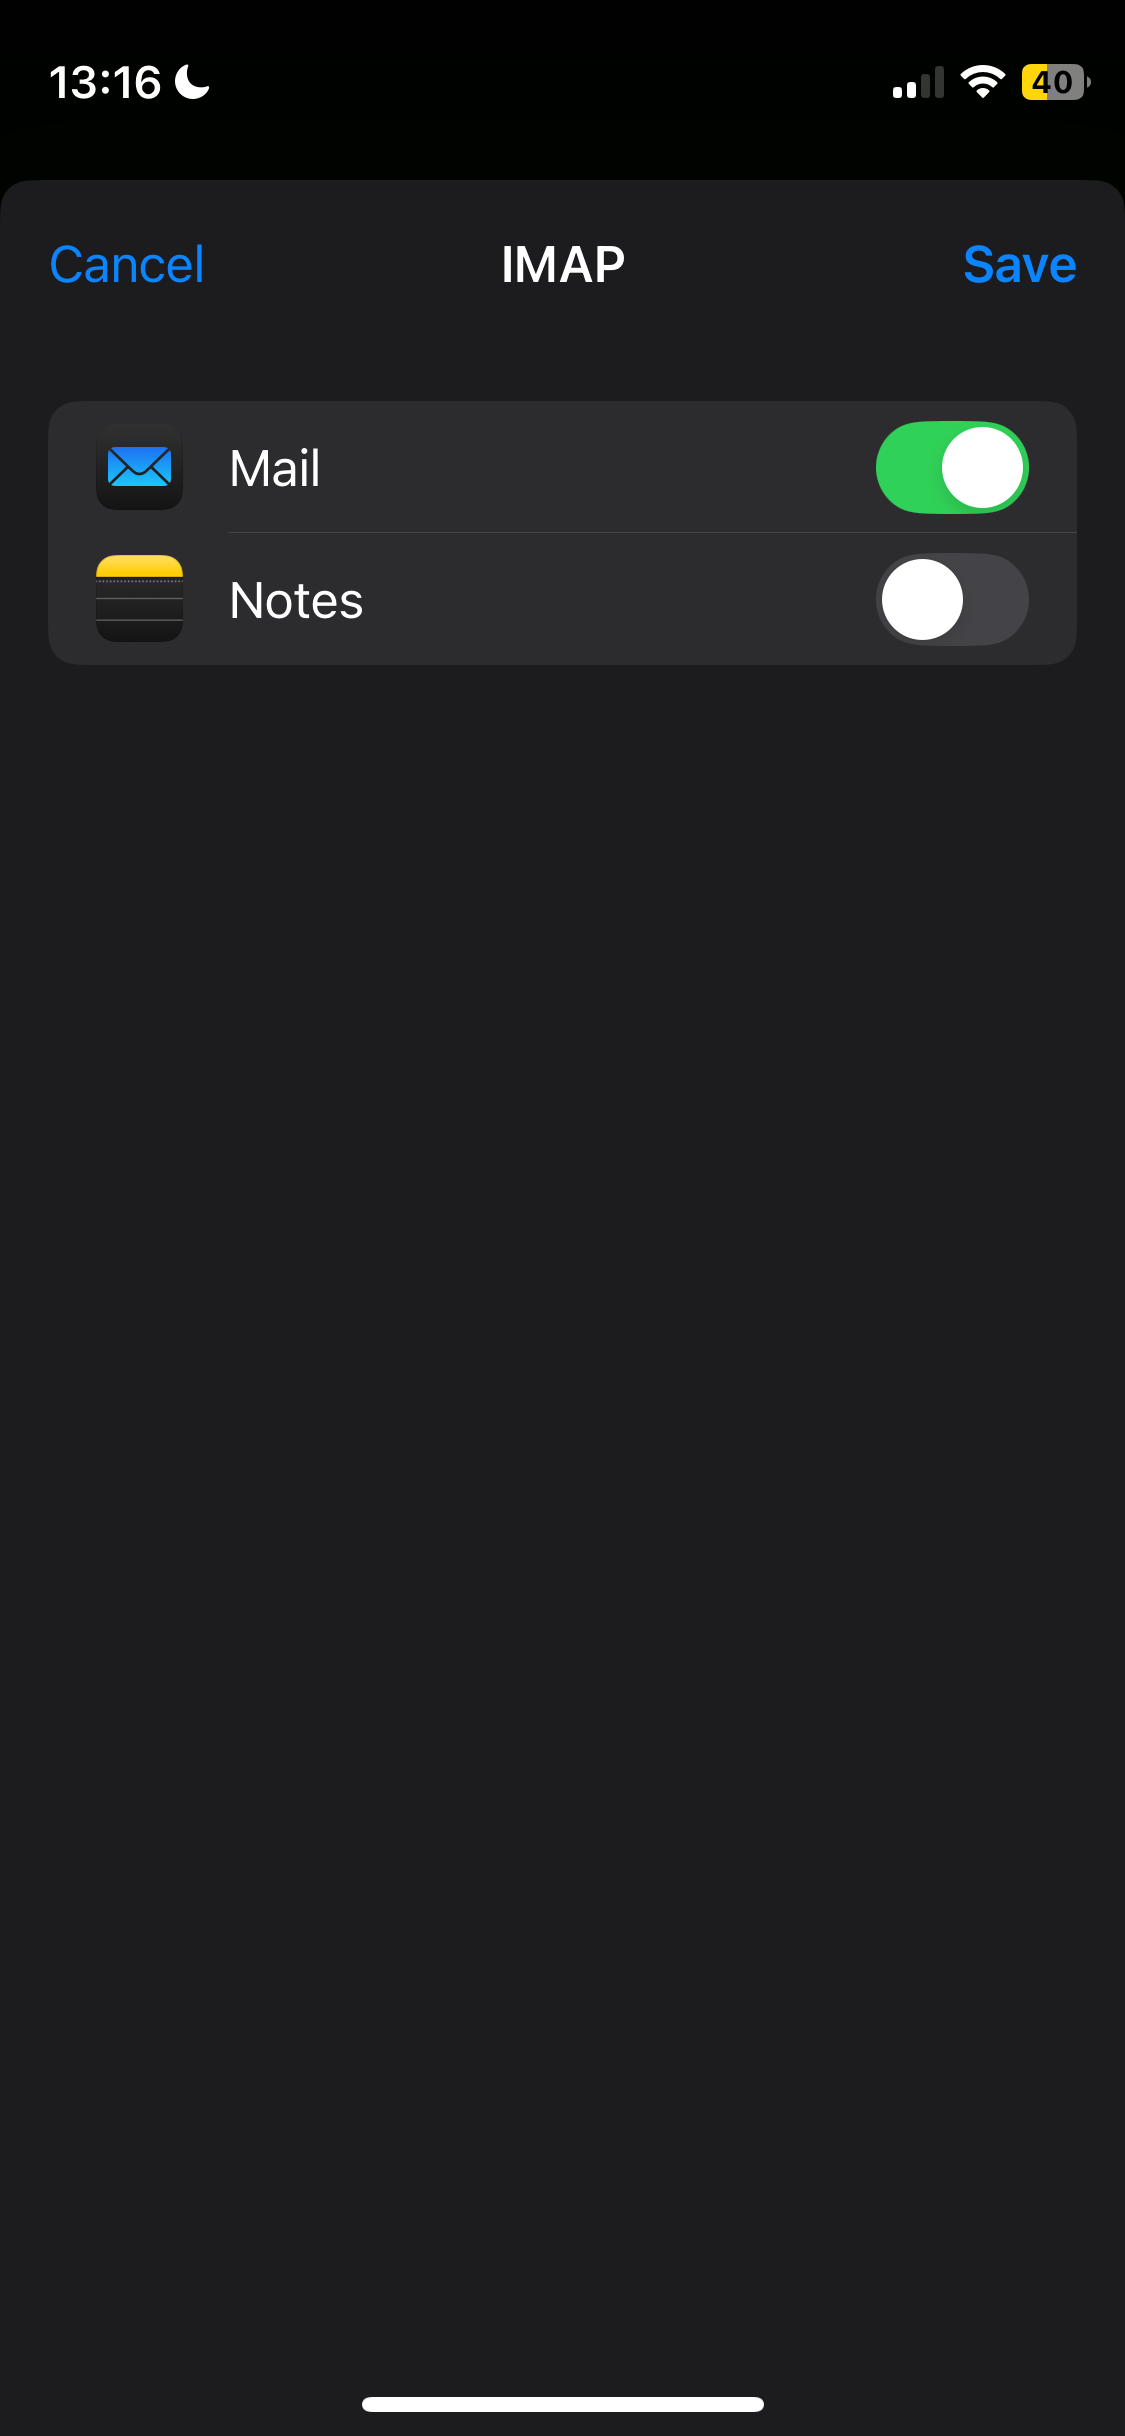
Now you can choose which functions to use on your device.
Click on Save.
Step 4
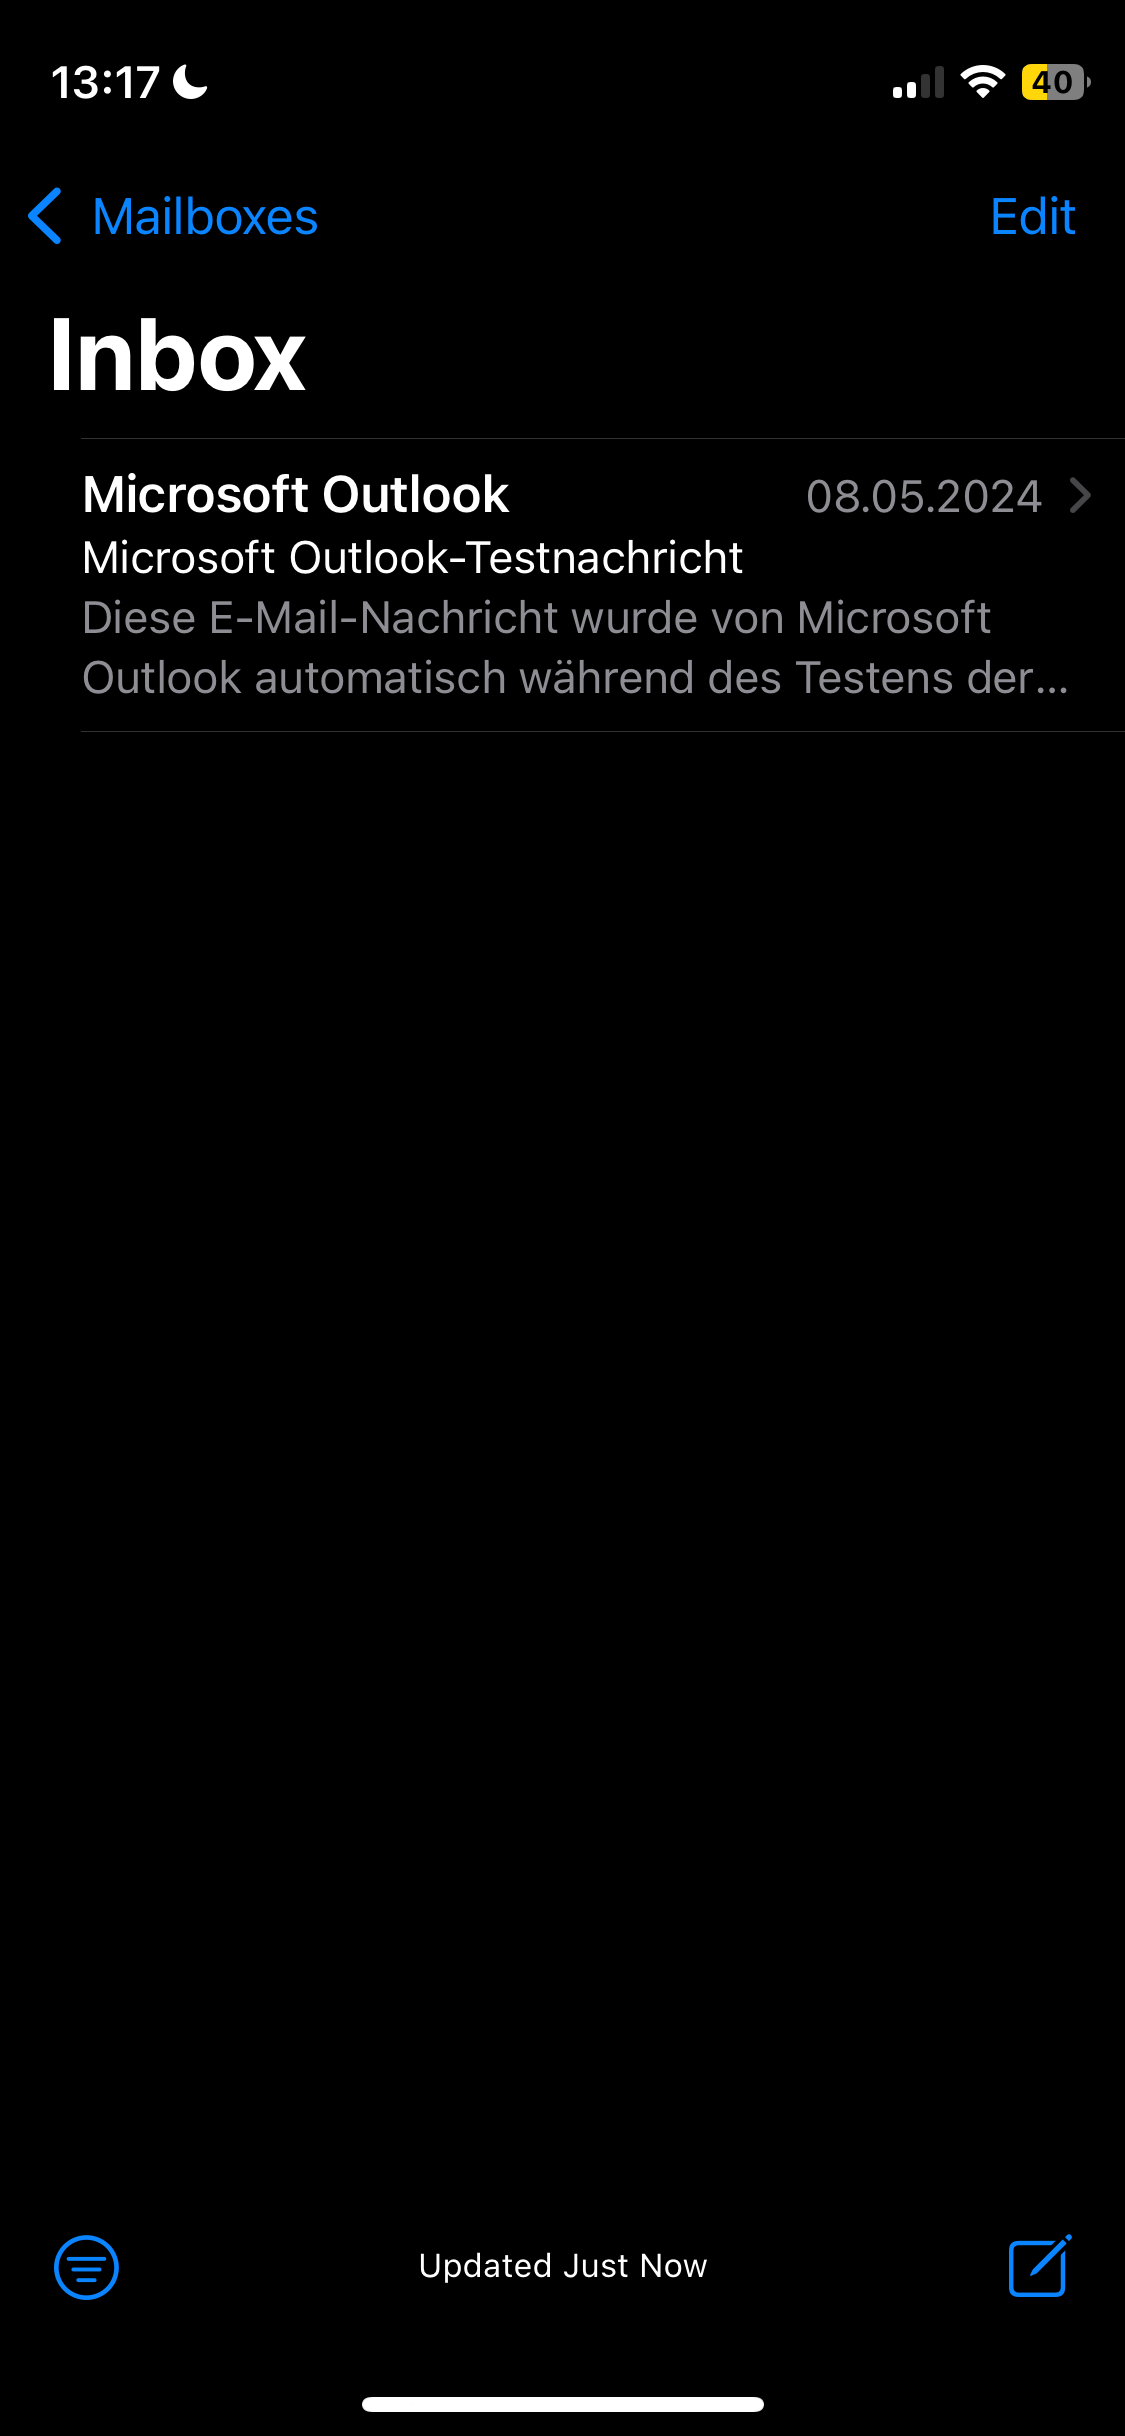
Your MAIL client is now configured.
Check if the settings are correct by sending yourself an email.
If you receive a problem with connecting to the server, please open the settings again and make sure the servers are saved. If not, enter the servers again and save the settings.
Thank you for using our email service.