-
Login
-
Language
- Deutsch
- English
Requirements
- Outlook 2016 should be installed on your computer
- Active internet access
- web browser
- groupware-account
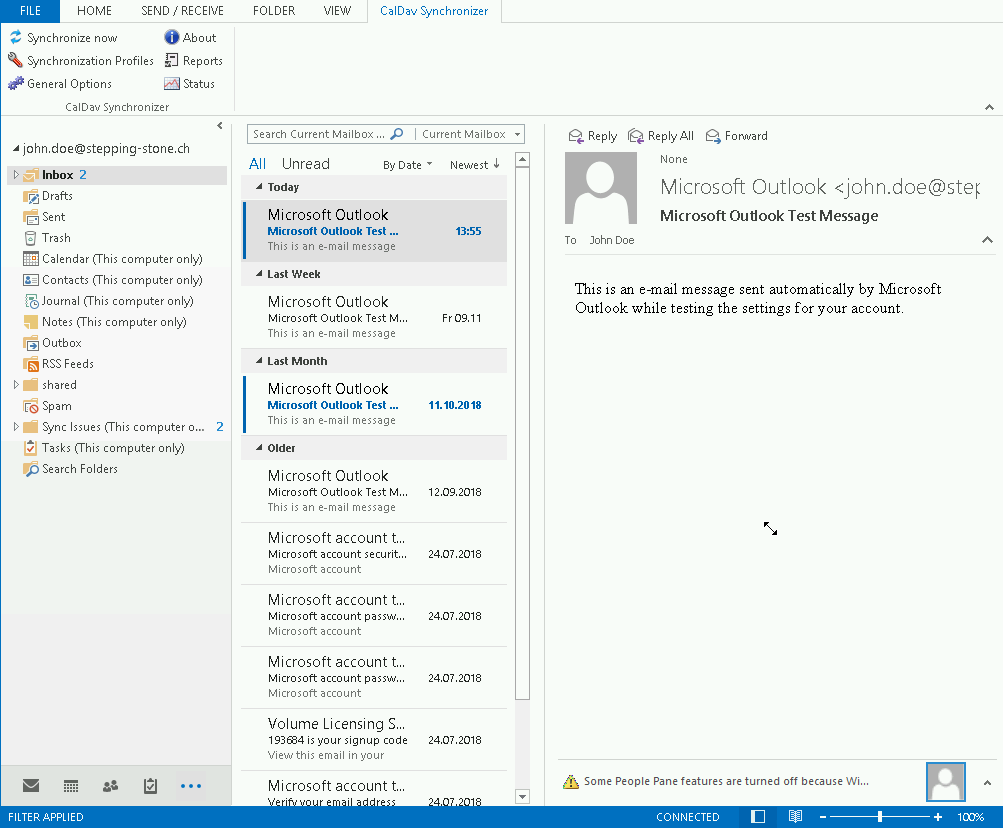
In the following steps, we will explain you, how you can synchronise your calendar and contacts with the groupware in Outlook 2016.
The images of this manual are made in the version windows 10 and could be different from the version you are using.
Start with step 1.
Step 1

Download the plug-in for CalDAV (the calendar synchronisation) from the following website:
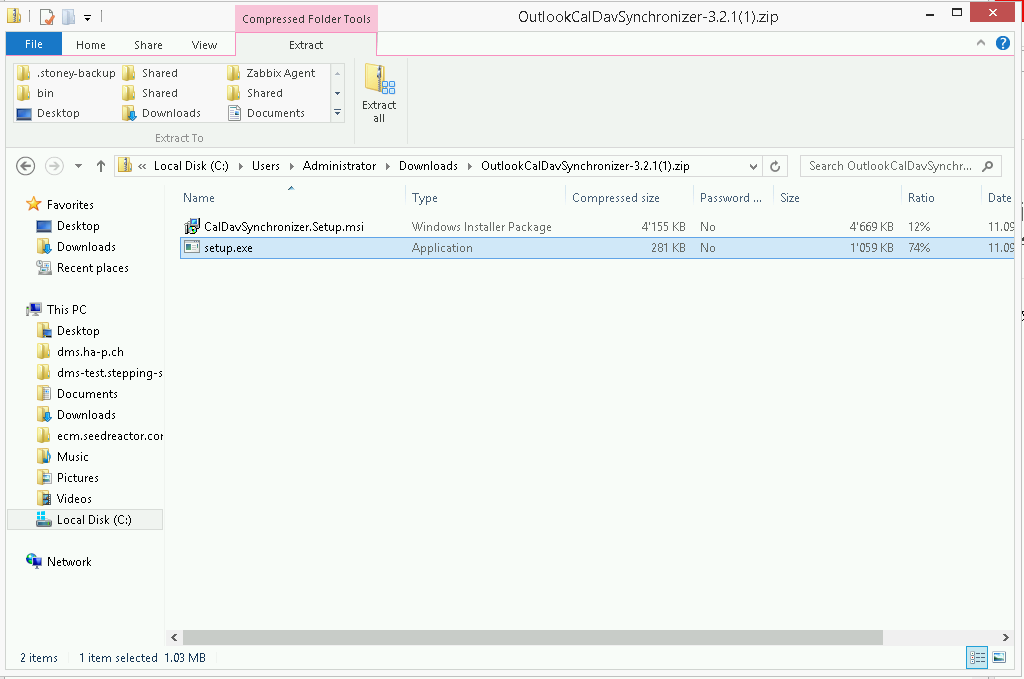
Save and open the data.
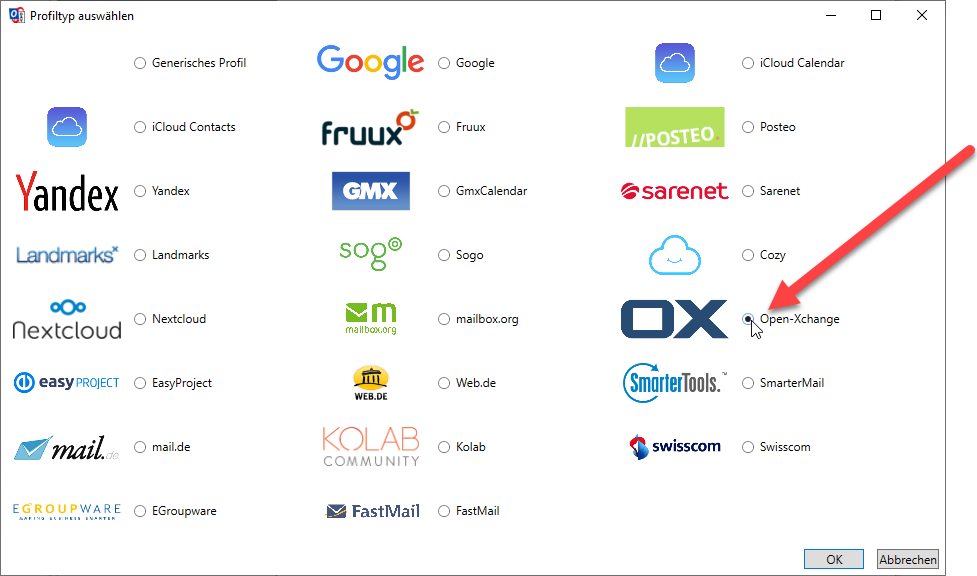
Step 3
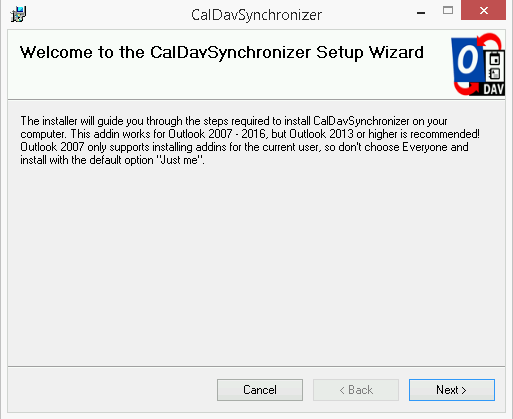
The installation will now be started. Click "Next" to confirm the installation.
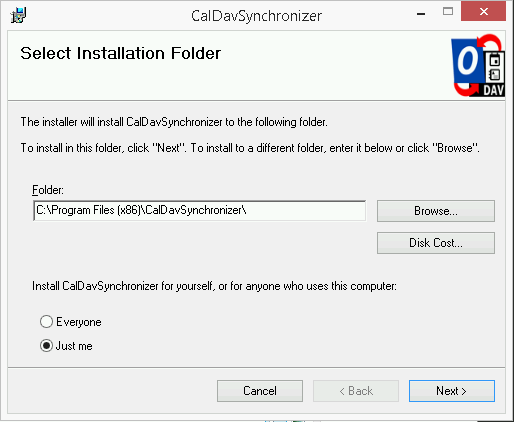
Following, the installation location is shown. Click "Next" to confirm the location.
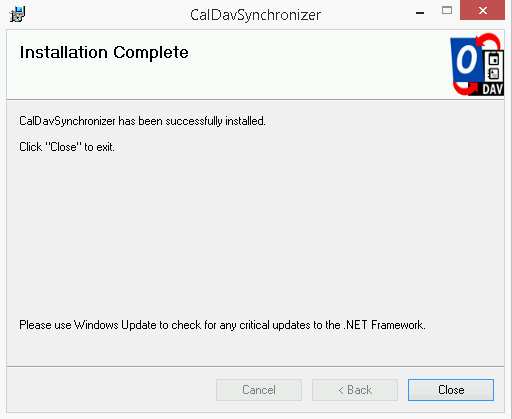
Close the window when the installation is completed, by clicking "Close".
Step 6
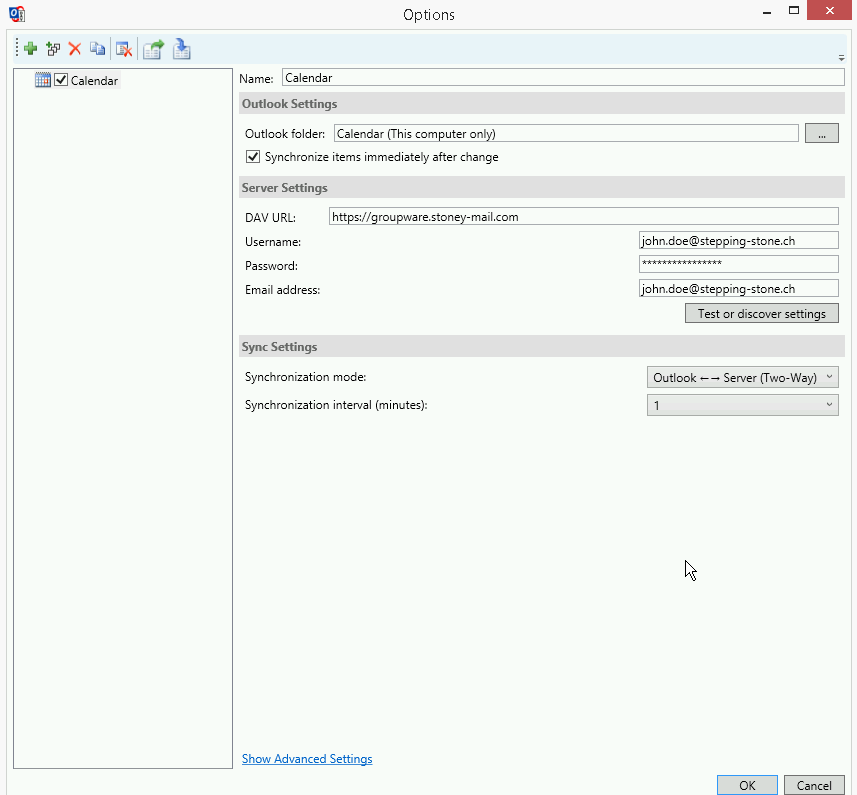
Fill out following settings:
Name: Enter the name of your calendar.
Outlook folder: Choose the folder "Calendar" and tick the box for "Synchronize items immediately after change".
DAV URL: Enter following URL https://groupware.stoney-mail.com/.
Username: Add your username, for example: john.doe@stepping-stone.ch
Password: Enter your password.
Email address: Enter your Email address, for example: john.doe@stepping-stone.ch.
Synchronization mode: Set "Outlook <- -> Server (Two-Way)".
Synchronization interval (minutes): Set the desired interval, for example "1"for every minute.
Click "Test or discover settings" to test the settings.
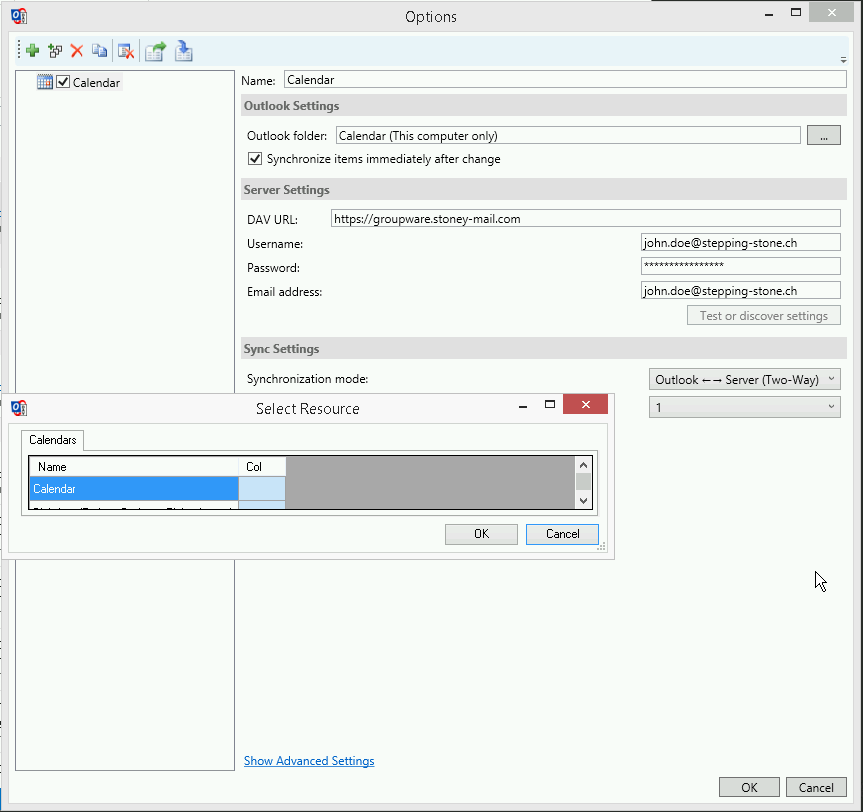
Choose "Calendar"and confirm with "OK". Afterwards you can confirm the "Test settings" with "OK".
You have synchronised your calendar. In the following steps, we will show you which settings should be set in order to synchronise your address book.

Step 8
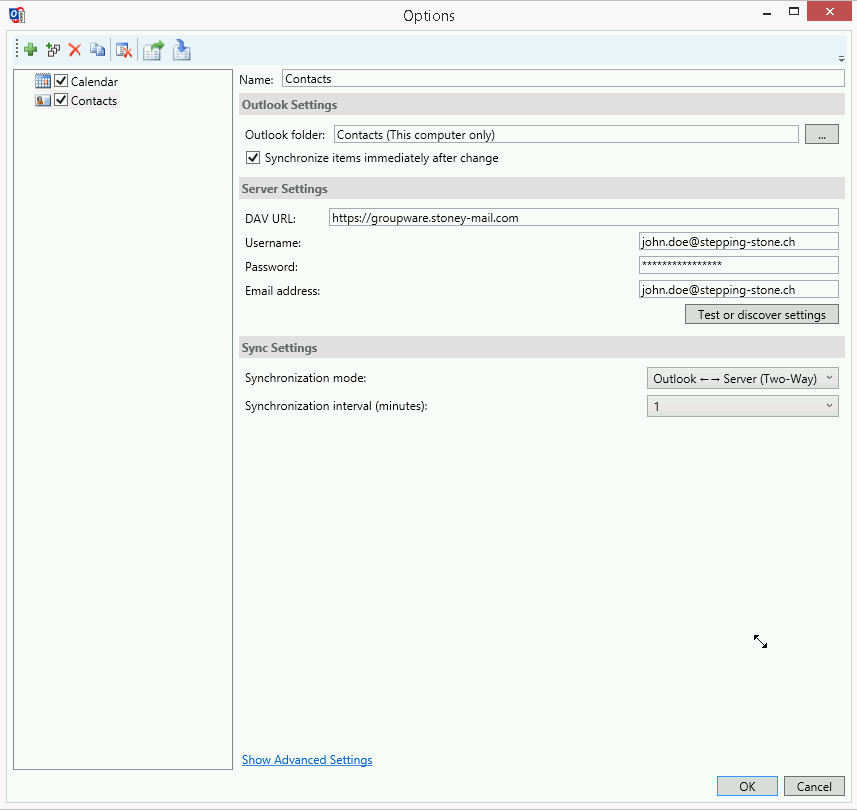
Fill out following settings:
Name: Enter the name of your address book.
Outlook folder: Choose the folder "Contacts" and tick the box for "Synchronize items immediately after change".
DAV URL: Enter following URL https://groupware.stoney-mail.com/.
Username: Add your username, for example: john.doe@stepping-stone.ch
Password: Enter your password.
Email address: Enter your Email address, for example: john.doe@stepping-stone.ch.
Synchronization mode: Set "Outlook <- -> Server (Two-Way)".
Synchronization interval (minutes): Set the desired interval, for example "1"for every minute.
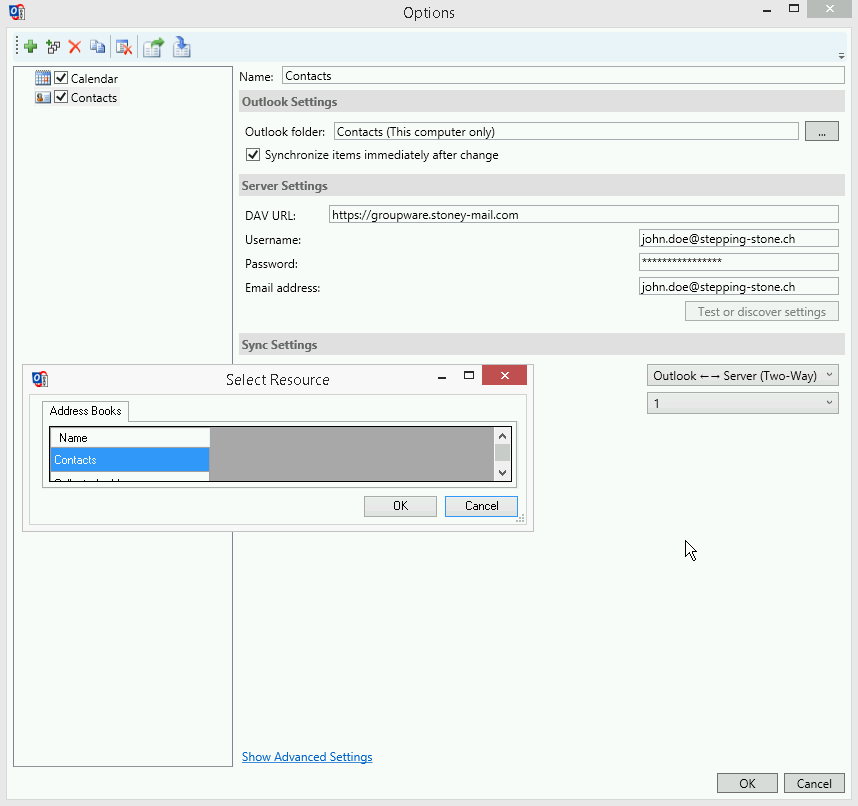
Click "Test or discover settings" to test the settings.
Choose "Calendar"and confirm with "OK". Afterwards you can confirm the "Test settings" with "OK".
Step 9
Your calendar and address book are now synchronised with your Outlook client.
Thank you for using our mail services.